
What do you do with all of those old materials lying around your house? Upcycle them into a beautiful clock! It’s easier than you think, and it will brighten up any room in your home. Continue reading to learn how to make your very own clock using recycled materials. You will be surprised at how easy it is and how great the end result looks!
1. Choose a clock kit
There are a lot of factors to think about when picking out a clock kit. Is a clock with hands more your style, or something more unique? Please choose between a digital and an analog screen, please. You can also find kits with extras like foil sheets and cellophane bags to give your clock a more polished look.

The primary factor is choosing the style of clock you want to build. There is a kit out there for you, whether you want a straightforward clock or a uniquely created masterpiece. By taking your time and doing some research, you can find the best clock kit possible.
2. Gather your materials—you’ll need an old picture frame, some wood, a drill, and a saw.
It’s time to put your stamps on something! If you’re looking for a creative way to show off your collection, why not make your own clock? You’ll need a wooden picture frame, a drill, a saw, and some scrap wood.
3. Cut the wood to size and attach it to the back of the picture frame with screws.
Measure the wood and mark it with a pencil. Next, use a saw to cut the wood along the marked line. Once the wood is cut, align it with the back of the picture frame and screw it into place. Finally, hang the frame on a wall or door using nails or adhesive hooks. With just a few simple steps, you can add a rustic touch to a round picture frame.
4. Drill a hole in the center of the wood for the clock mechanism.
Making your own clock is a fun and challenging project that can be completed in a few hours. There are a few things you’ll need to gather before you get started: a piece of wood, a drill, a clock mechanism, and some paint or stain (optional). Once you have everything, the first step is to drill a hole in the center of the wood. This is where the clock mechanism will go. Next, assemble the clock mechanism according to the instructions that come with it. Once it’s assembled, insert it into the hole in the wood.
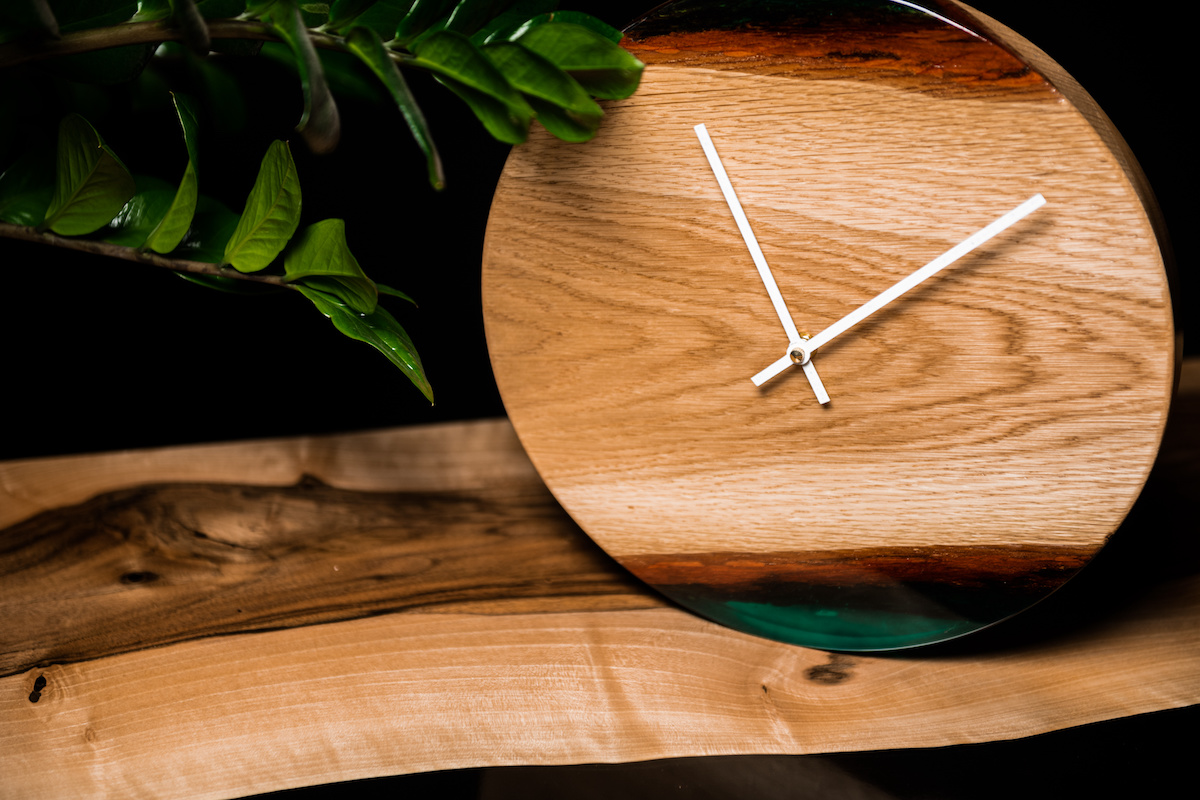
5. Paint or stain your clock’s face and hands.
A clock is a practical necessity in any home, but that doesn’t mean it can’t be stylish as well. If you’re looking for a way to add a personal touch to your décor, consider painting or staining your clock’s face and hands.
This simple DIY project is a great way to add a pop of color or create a unique focal point in any room. And best of all, it’s easy to do! Just choose the paint or stain that best suits your style, and get started. With a little effort, you can transform your clock into a one-of-a-kind work of art.
6. Hang your new clock on the wall!
Now that your clock is complete, it’s time to hang it on the wall. You can use nails, screws, or adhesive hooks to secure it in place. Once it’s hung, step back and admire your handiwork. You’ve just created a beautiful and unique clock that will be the perfect addition to any room in your home.